

Overview
Assets can be deleted individually from their detail view, or in bulk from the Asset page. Both flows require a confirmation step to prevent accidental deletion.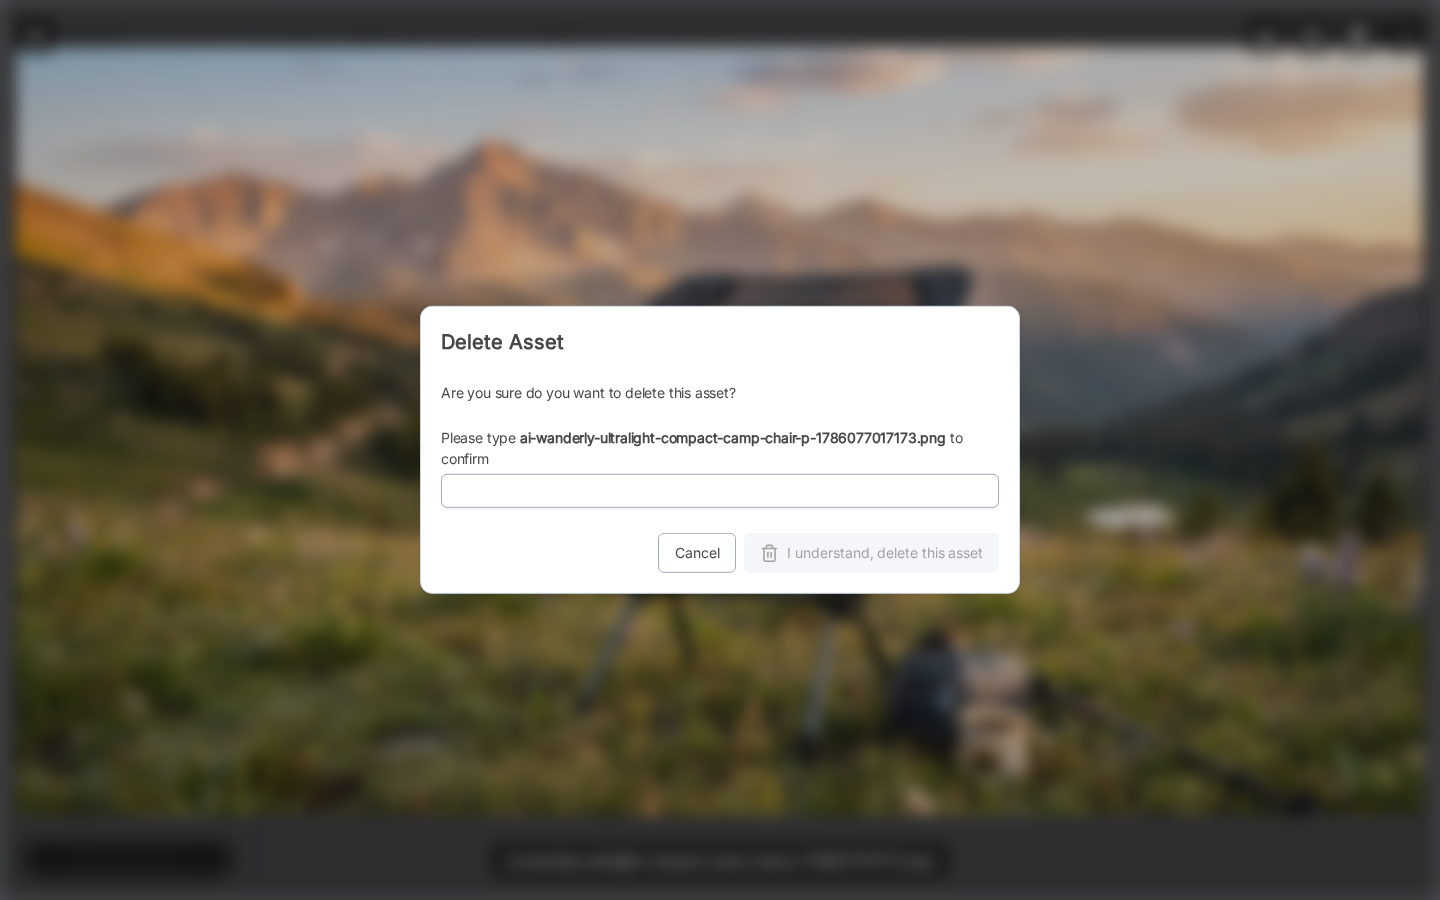
Delete a Single Asset
1
Open the asset
On the Asset page, click any asset thumbnail to open its detail view (image viewer, video player, or PDF viewer depending on the file type).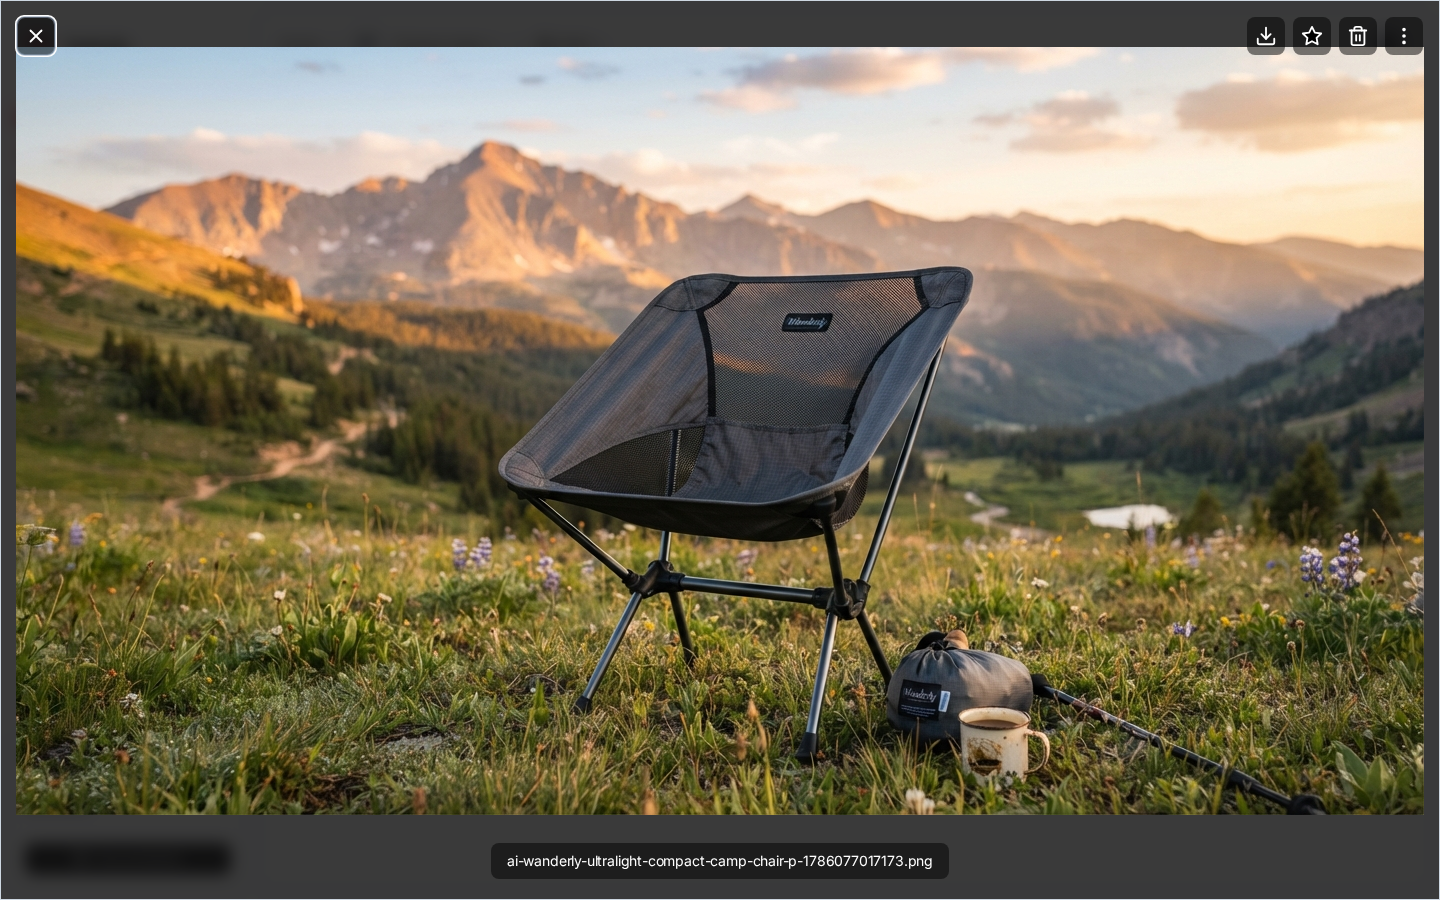
2
Click the trash icon
In the detail view toolbar, click the trash icon to start the delete flow.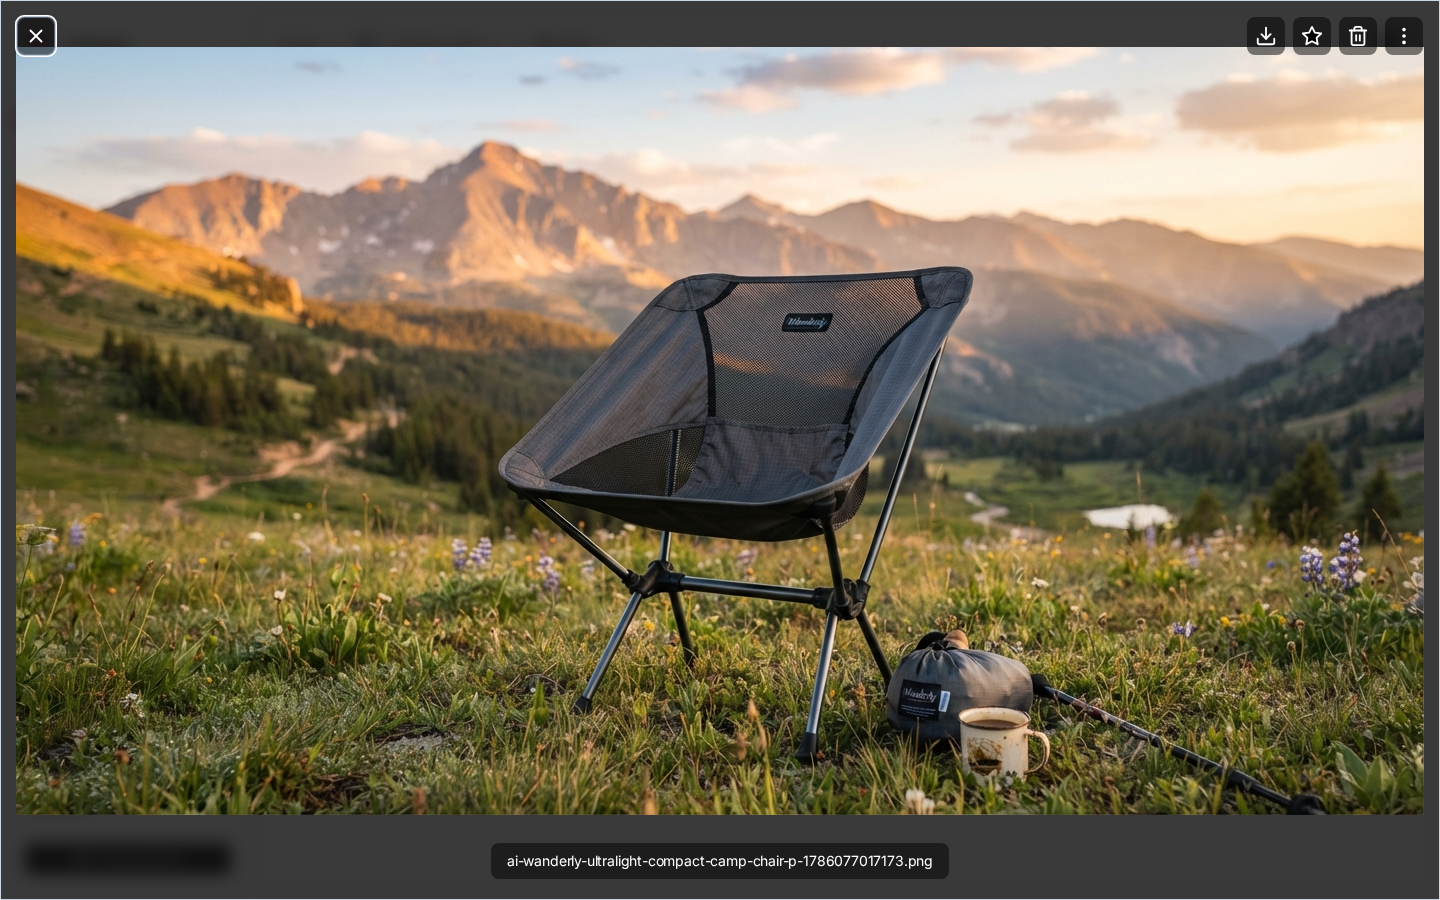
3
Confirm by typing the asset name
A confirmation dialog asks you to type the exact asset name to proceed.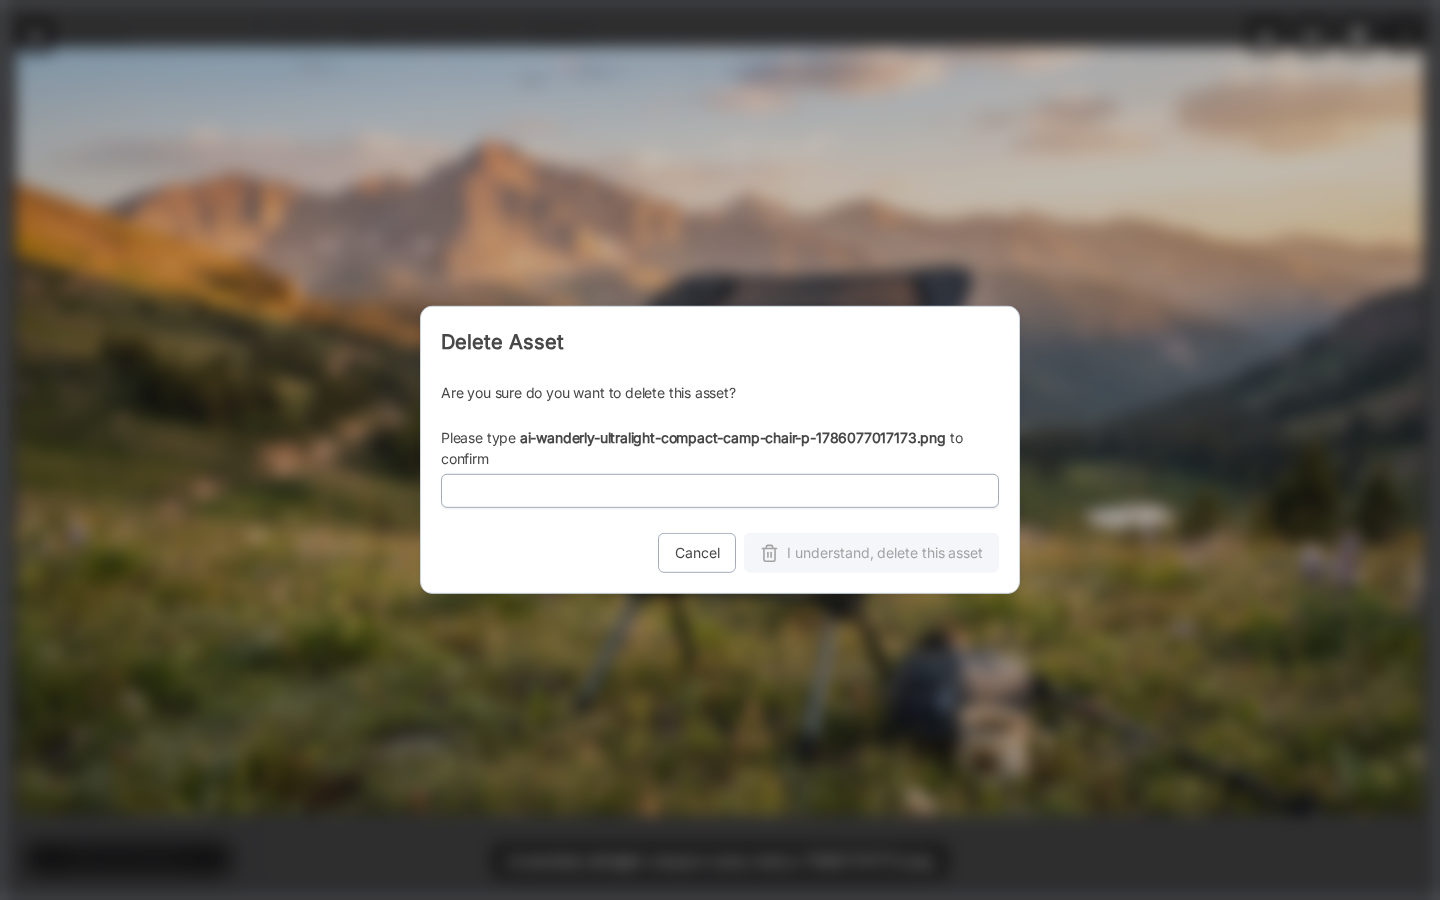 Type the name exactly as shown, then click I understand, delete this asset.
Delete Multiple Assets
1
Select assets
Hover over any asset thumbnail and click its checkbox to select it. Repeat for all assets you want to delete.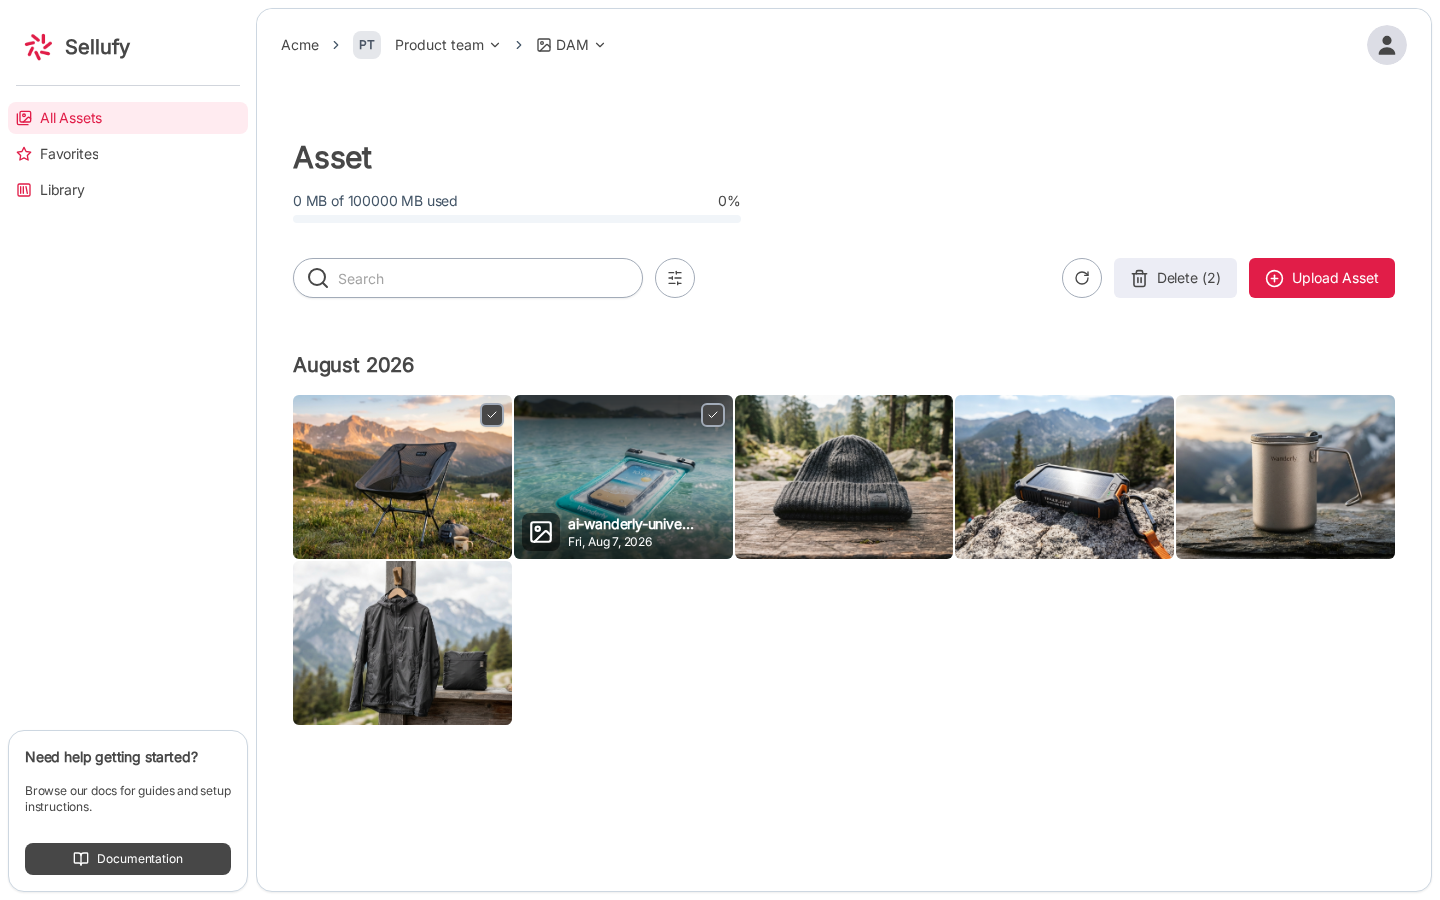
2
Click Delete in the toolbar
Once at least one asset is selected, a Delete (n) button appears in the toolbar. Click it.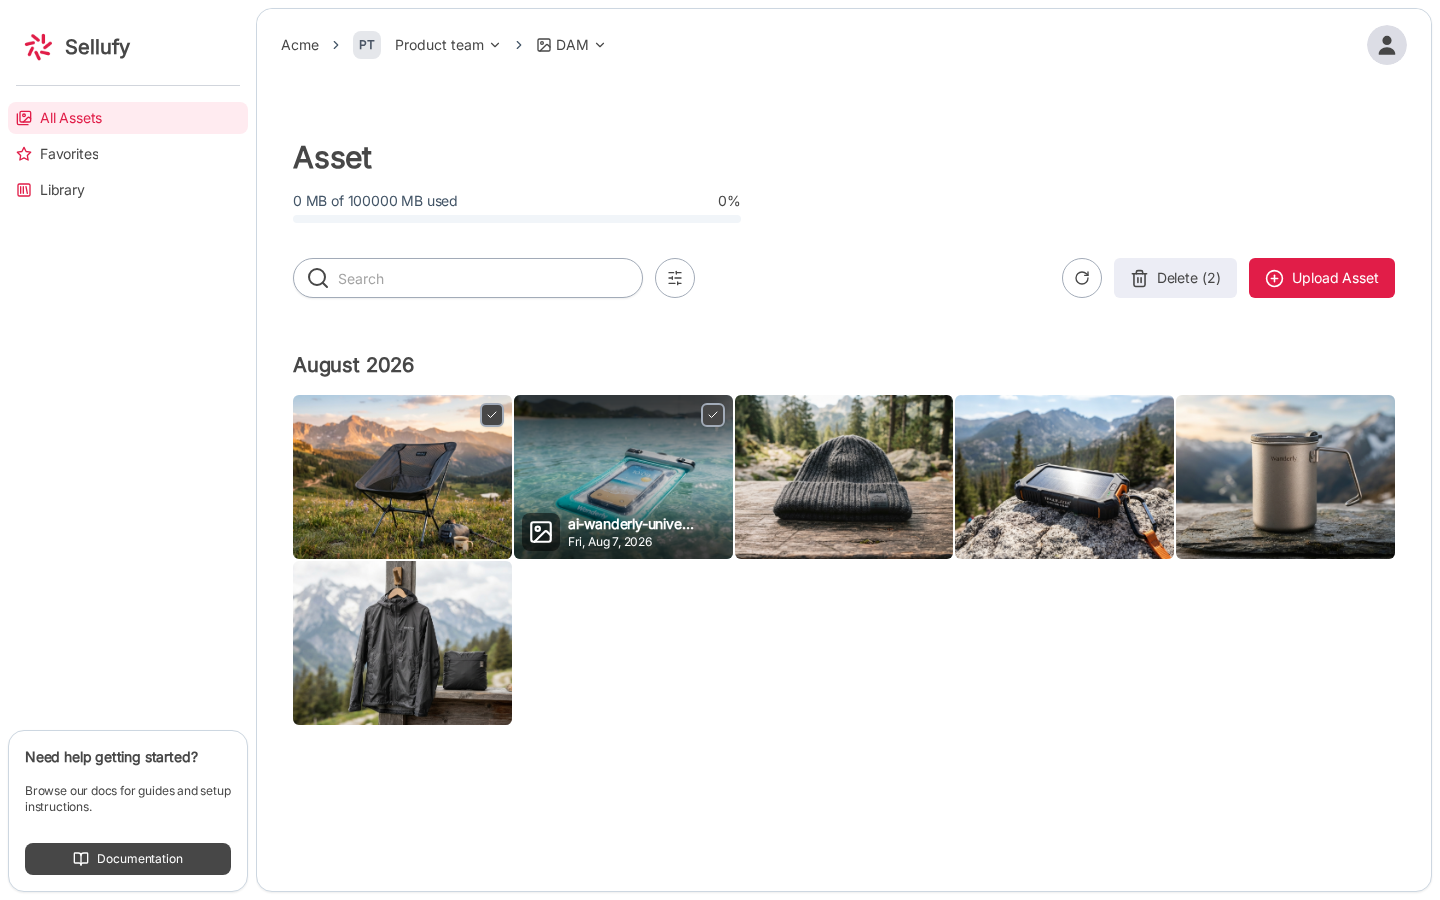
3
Review selected assets
The dialog lists all assets to be deleted (Name, Type, Created At, Updated At) along with a warning alert.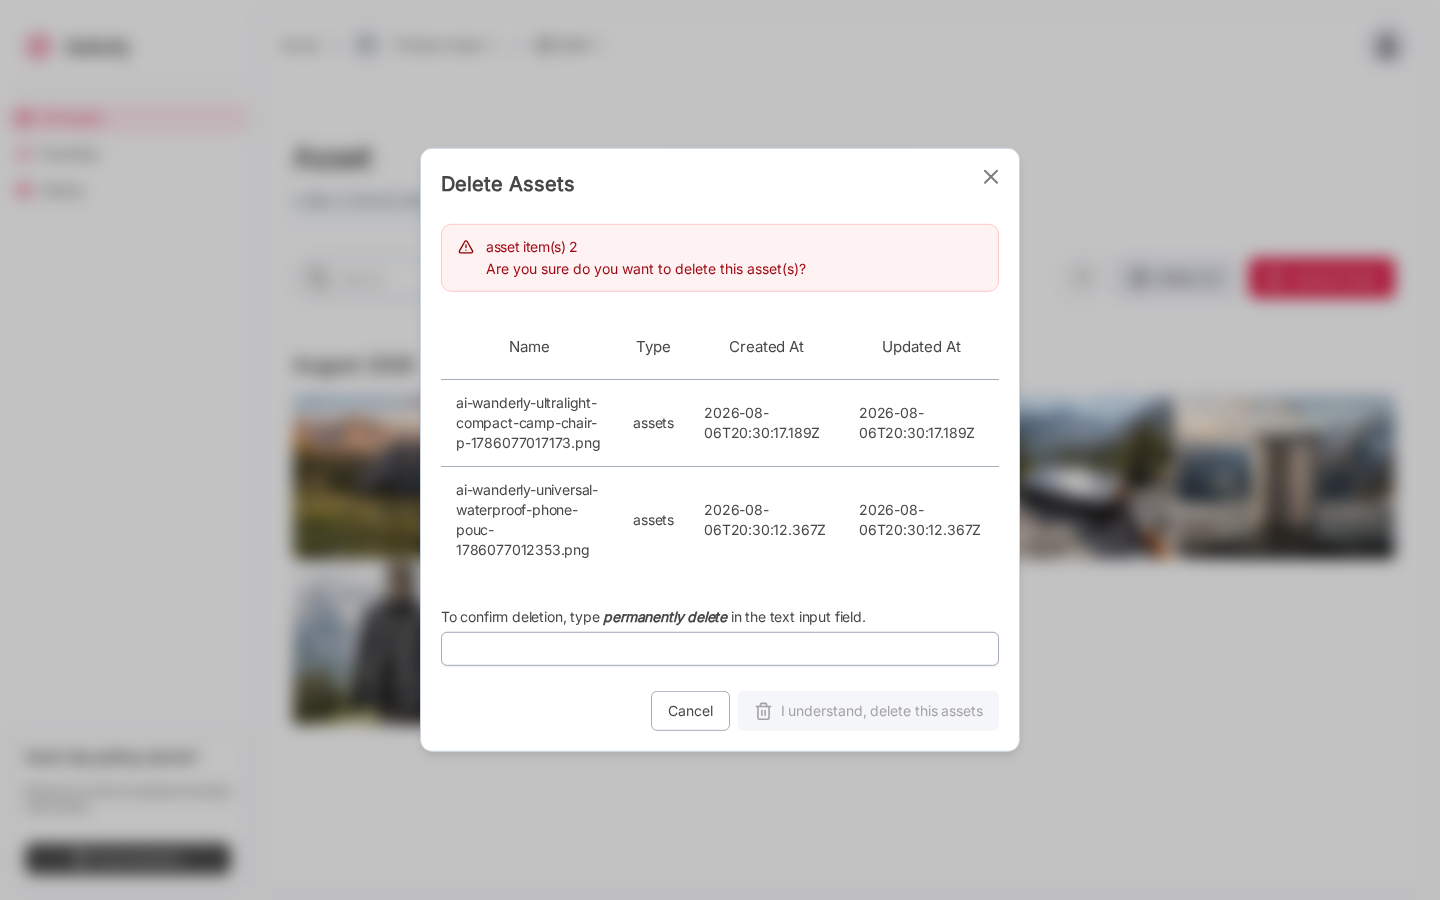
4
Confirm by typing the confirmation phrase
Type permanently delete in the confirmation input, then click I understand, delete this assets.