

Overview
The Settings tab is where you authorize a channel after creating it. What it shows depends on the platform. Shopify and WooCommerce get a Platform Connection panel driven by OAuth. Custom Storefront channels get a Channel API Endpoint panel instead.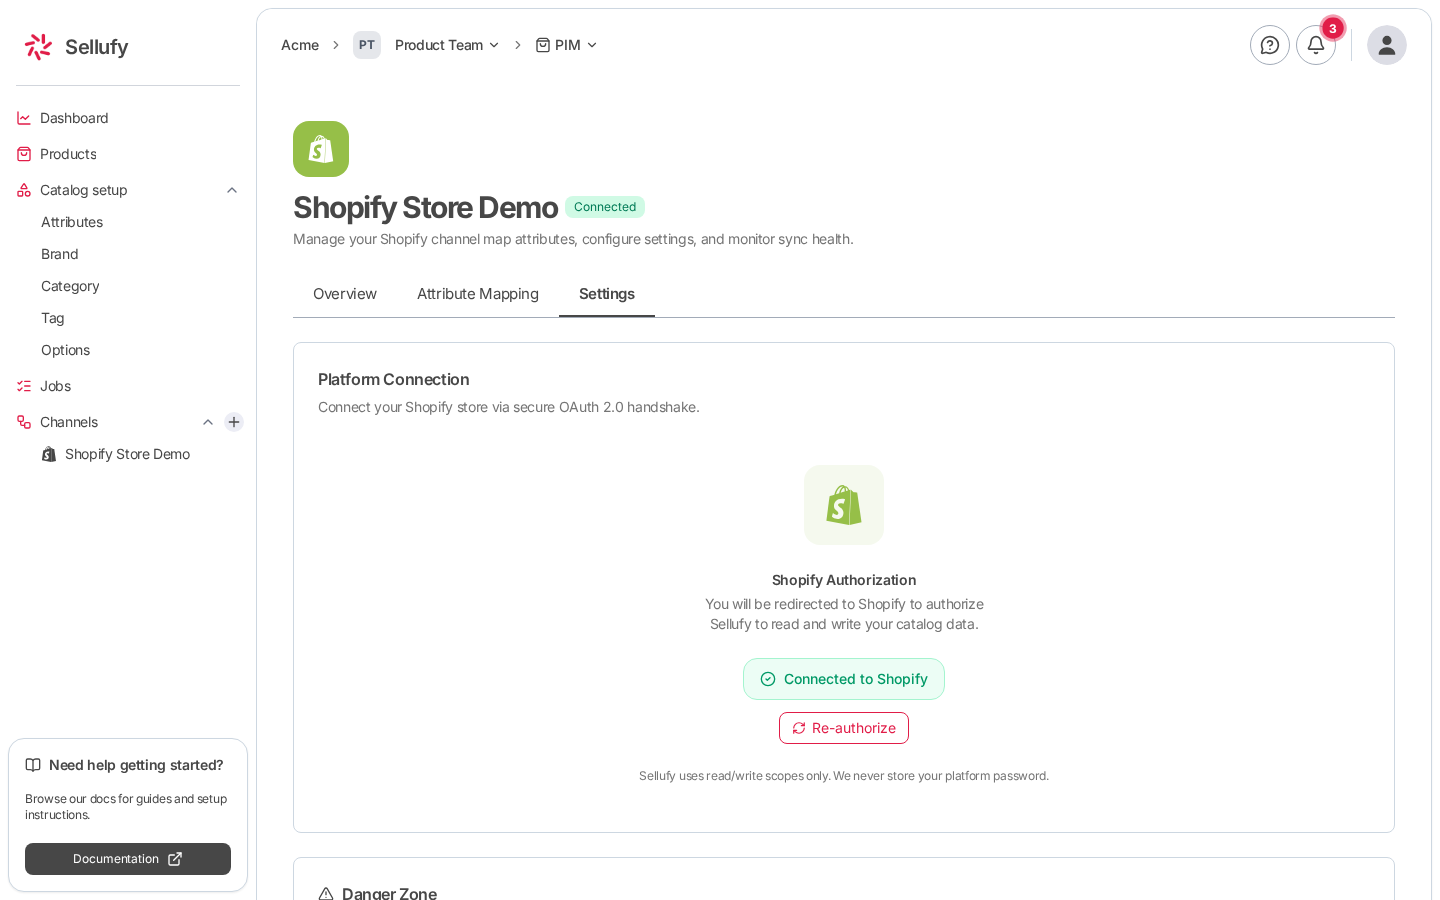
OAuth platforms (Shopify, WooCommerce)
Connecting for the first time
1
Enter your store domain (Shopify only)
A Shopify channel asks for a Store domain before it can authorize.
2
Authorize the platform
Click Authorize Shopify (or Authorize WooCommerce). A popup opens on the platform’s own
authorization page. The button reads Connecting… while the handshake runs.
3
Complete authorization in the popup
Grant Sellufy read and write access to your catalog data. The popup closes on its own once you
approve.
4
Confirm the connection
The panel switches to a Connected to Shopify badge and the status badge beside the channel
name becomes Connected.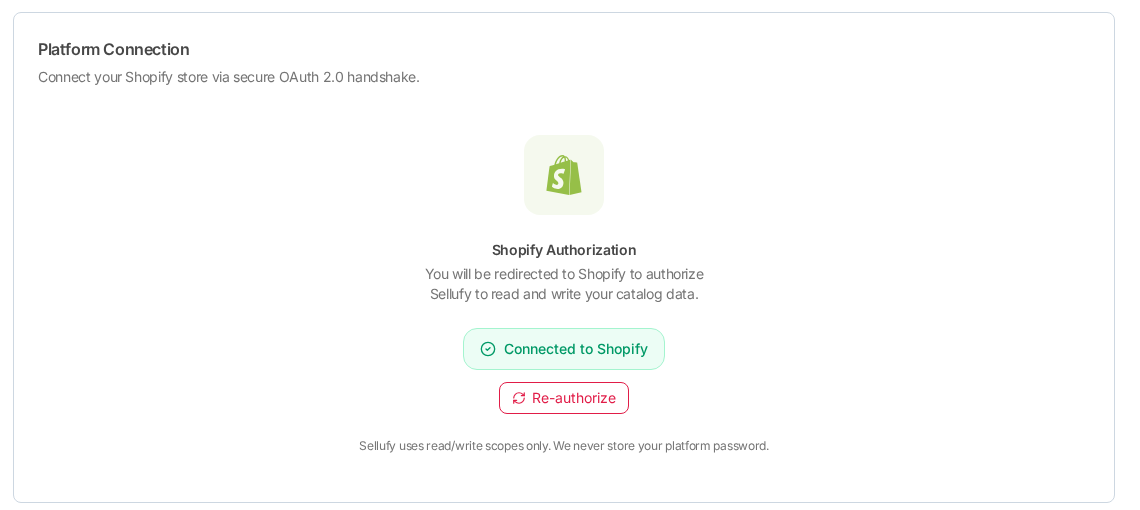
Re-authorizing
If the token expired, or you want to refresh access:- Click Re-authorize on the connected panel.
- Complete the flow in the popup. Cancel backs out and leaves the existing connection alone.
- The channel returns to Connected.
Sellufy uses read/write scopes only. Your platform password is never stored.
Custom Storefront
A Custom Storefront channel does not use OAuth. You give Sellufy a URL on your own system, and Sellufy calls it to publish, update, and delete products.Channel API endpoint
Fill in two fields, then click Save Endpoint.
Once saved, the panel shows an Endpoint configured badge, the URL with a copy button, and a
Disconnect button that clears it.
Sellufy calls this URL from its backend. It is never exposed to other organizations or third
parties.
Sample payload
Below the endpoint panel, a Sample Payload card shows the JSON shape your endpoint must accept. Sellufy sends it byPOST when publishing. Use the copy button to take the whole payload.
Danger zone: delete a channel
Deleting a channel is irreversible. It removes the channel and all its attribute mappings.1
Click Delete Channel
The Danger Zone card sits at the bottom of the Settings tab.
2
Type the confirmation phrase
A dialog names the channel and asks you to type permanently delete. The delete button stays
disabled until the phrase matches exactly.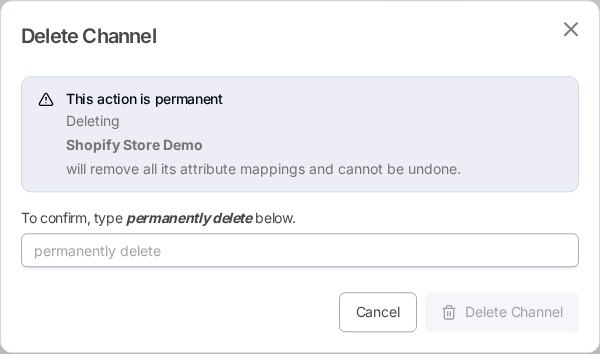
3
Delete
Click Delete Channel. Cancel closes the dialog and changes nothing.