

Overview
Core fields (SKU, title, description, price, and the rest) sync to the platform automatically. You do not map them. The Attribute Mapping tab is for your custom attributes, and each row links one attribute to a destination property on the channel.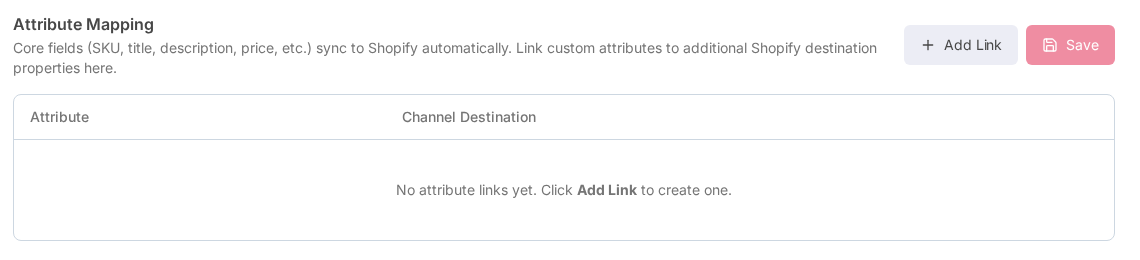
Opening attribute mapping
- Open the channel from Channels in the sidebar.
- Click the Attribute Mapping tab.
Adding a mapping
1
Click Add Link
Add Link sits above the table on the right and appends an empty row.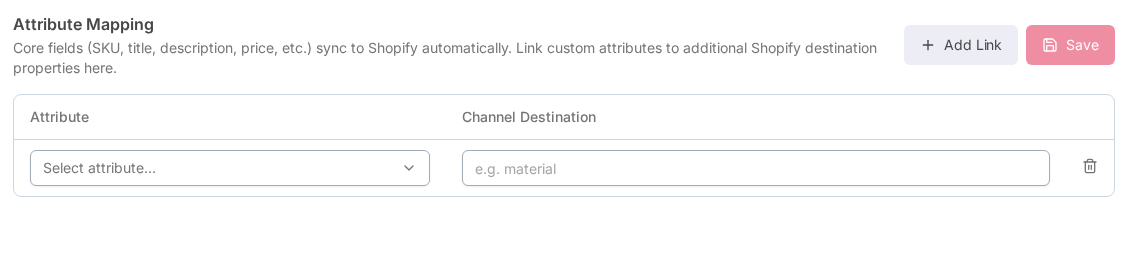
2
Pick an attribute
The Attribute dropdown lists the custom attributes in your workspace. If you have not created
any yet, the dropdown offers Create an attribute instead.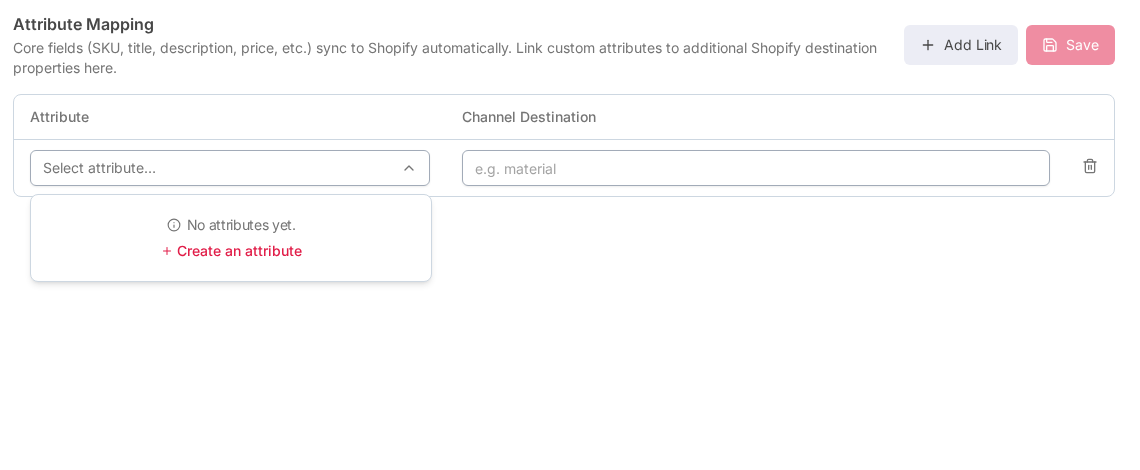
3
Enter the channel destination
Type the destination key in the Channel Destination field. Enter the key on its own, not the
full path: Sellufy adds the platform’s prefix for you.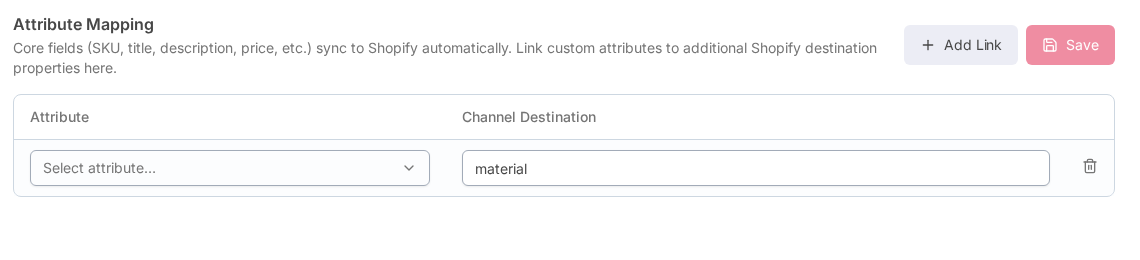
4
Save
Click Save to persist the rows. Unsaved rows are lost if you leave the tab.
Editing a mapping
Change the dropdown or the destination field on any row, then click Save.Removing a mapping
Click the trash icon at the end of a row, then click Save to apply.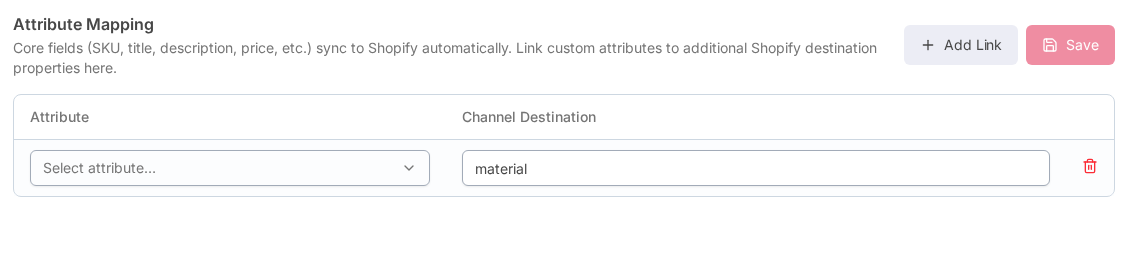
Empty state
With no mappings saved, the table reads:No attribute links yet. Click Add Link to create one.