

Overview
Adding a channel creates a connection record for one storefront. Creating the record does not connect it. You authorize the channel afterwards from its Settings tab.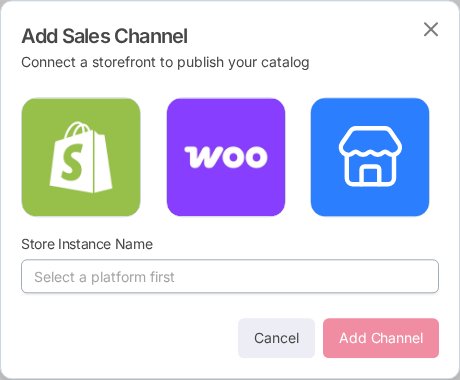
Steps
1
Open Add Sales Channel
Find Channels in the PIM sidebar and click the + beside it.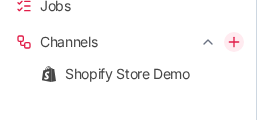
2
Select a platform
Pick one of the three platform tiles. The selected tile is outlined.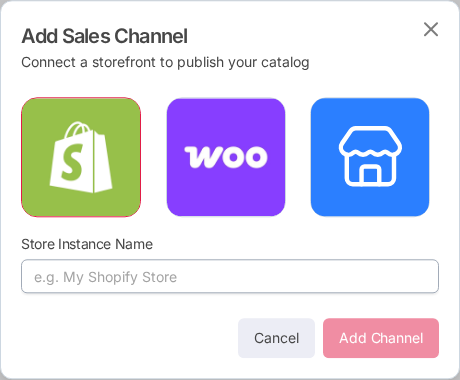
Shopify
OAuth 2.0. You are redirected to Shopify to authorize Sellufy.
WooCommerce
API key credentials, entered in the Settings tab.
Custom Storefront
For any other platform. Uses an API key and a webhook endpoint.
3
Name the store instance
Store Instance Name stays disabled, reading 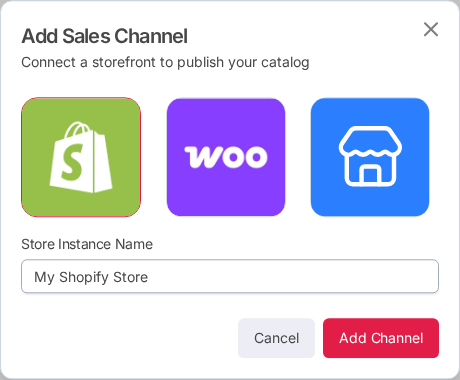
Select a platform first, until you pick a
platform. Name the channel so you can tell it apart from the others, for example
My Shopify Store or EU WooCommerce. The name is for your reference only.4
Create the channel
Click Add Channel. Sellufy creates the record and opens the channel’s detail page with a
Pending badge, which it keeps until you authorize it in the Settings tab.
Next steps
- Open the Settings tab and authorize the connection. See Channel Settings.
- Link your custom attributes to the platform’s destination properties on the Attribute Mapping tab. See Attribute Mapping.